
Double rays.
Note: following these directions will be easier if you have read and followed the steps in the post about creating single straight rays.

These rays are not double stitched but the transition at the
no-sew zone is so small that it can be stitched continuously.
I made these rays by fanning a straight line.
First make a block then follow these steps:
Add/edit pattern > add pattern > block pattern >
use current block.
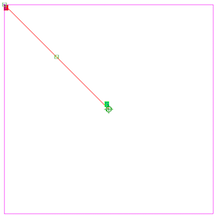
Select the straight line from the geometric catalog.
Move it so the S snaps to the center of the block. Select stretch and anchor the start
point. Grab the end point and move
it to one of the corners. Finished.

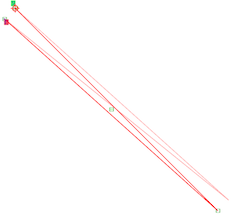
Add pattern > fan pattern – touch the straight line >
continue >
Change repeats to 2 and angle to 3º. Alternate: on.
Transition: continuous. Close pattern: no. Finished.


Add/edit pattern > add pattern > fan pattern >
select the pattern > continue. It will look strange at this stage but don’t
worry.

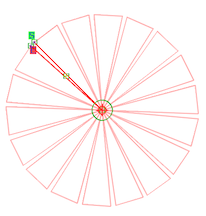
Change the repeats to 18 and angle to 20º.


Grab the pivot point (the start point) and drag it to the
other end of the rays.


Alternate: off. Transition: continuous. Close pattern: yes.
Now it should look like this screenshot.
Now it should look like this screenshot.

Finished.
Save the pattern.
By altering the number of repeats and the angle between them, you can create several variations of background double rays.
By altering the number of repeats and the angle between them, you can create several variations of background double rays.
No comments:
Post a Comment